Inspiration
Good to see you!
Welcome to Dulux
Terms & Conditions
Registration complete
Successfully registered, please login
Registration complete
Forgotten your password?
Please enter email address associated to your account
Change Password
Password changed successfully.
Request sent!
For more tailored inspiration, please fill in the 3 questions below.
If you have concerns about your privacy?
Read our Privacy Policy.
Delete Account
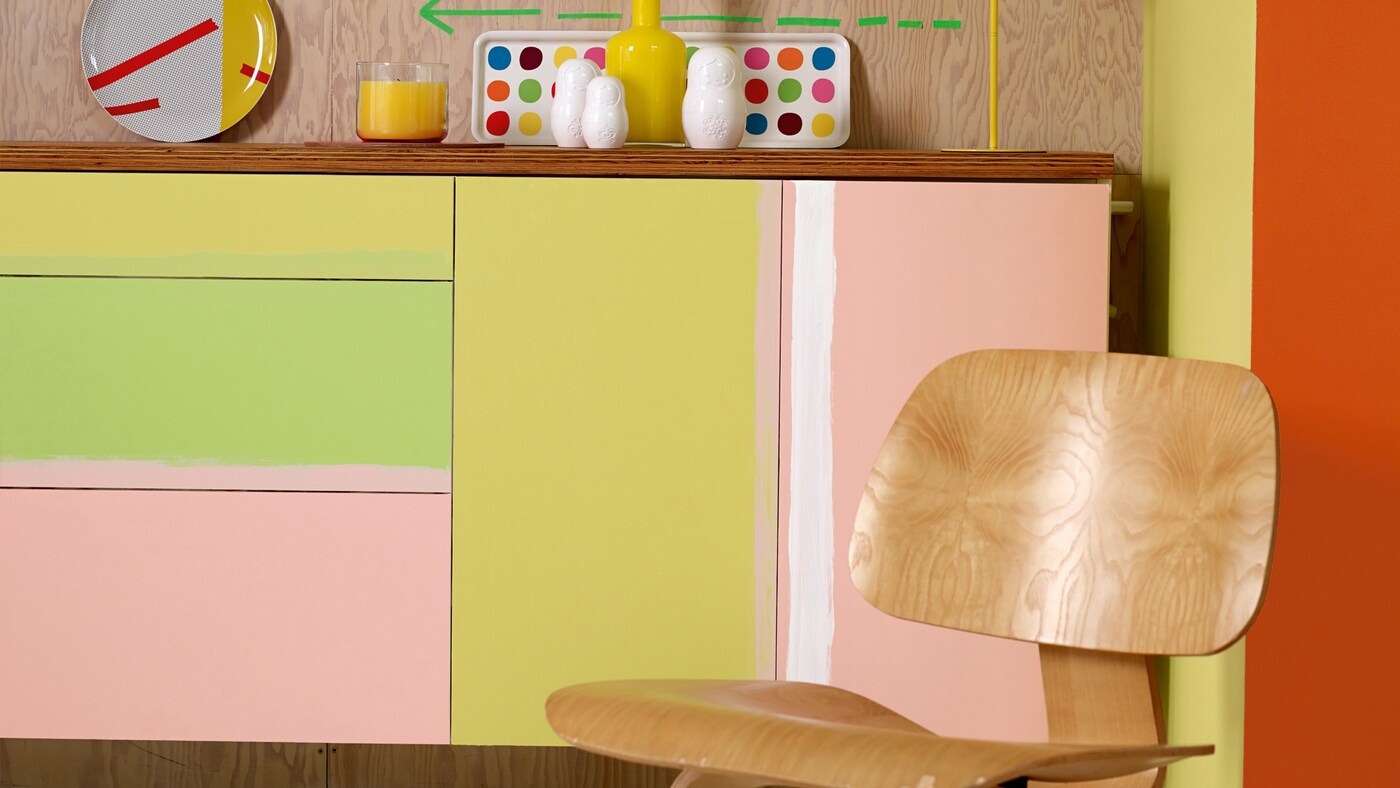
Give new life to your existing wooden furniture with our step-by-step guide.
1) To start, remove any handles and clean the surface of the wood with hot soapy water and a nylon-washing pad. You’ll also want to fill any cracks or holes with a wood filler, before lightly sanding the surface smooth. Wipe down with a damp cloth and let it dry.
2) Time for priming. Apply a single coat of a specialist wood primer and undercoat and leave to dry (check the instructions if you’re unsure of the drying time).
3) Onto the painting! We recommend water-based paints, as they dry quickly and give a beautiful finish. You’ll want to work in a well-ventilated area but away from a direct draft (this could cause the paint to dry too quickly).
4) Apply your first coat of paint with a good quality synthetic fibre brush and give it plenty of time to dry before applying the second coat. For a super smooth paint application, lightly dampen the wood using a sponge first.
6) If you’re painting a tabletop or a horizontal surface, we recommend applying a coat or two of clear varnish for extra protection after the paint has fully dried. Satin or matt varnishes are particularly good at helping to mask scratches. Give your furniture at least 12 hours to dry before reattaching the handles and moving the piece back into place.
7) Enhance the beauty of your newly painted furniture with personal accessories, such as a collection of glassware or photographs.
Add a new job
Add a new job
Edit a job
Delete job
Are you sure? All notes, photos and saved items will be deleted.
Save colour
Save to My Workspace
Save product
Save job
